

ART DONE RIGHT
If your clients are thinking about adding some character and style to their home, an artful display of your beautiful photography is a great place to start. As their photographer, it can be super-valuable to offer your clients advice about how to display your photography in a beautiful way. Giving your clients these tips will set you up as the expert, and it doesn’t hurt to have your beautiful work displayed in their home as a reminder of how awesome it was to work with you!
But, how do you display your photos in the right way? What height should they be at? How many photos can you put together at a time? Let’s look at some tips to get your clients’ home gallery wall looking juuuust right.
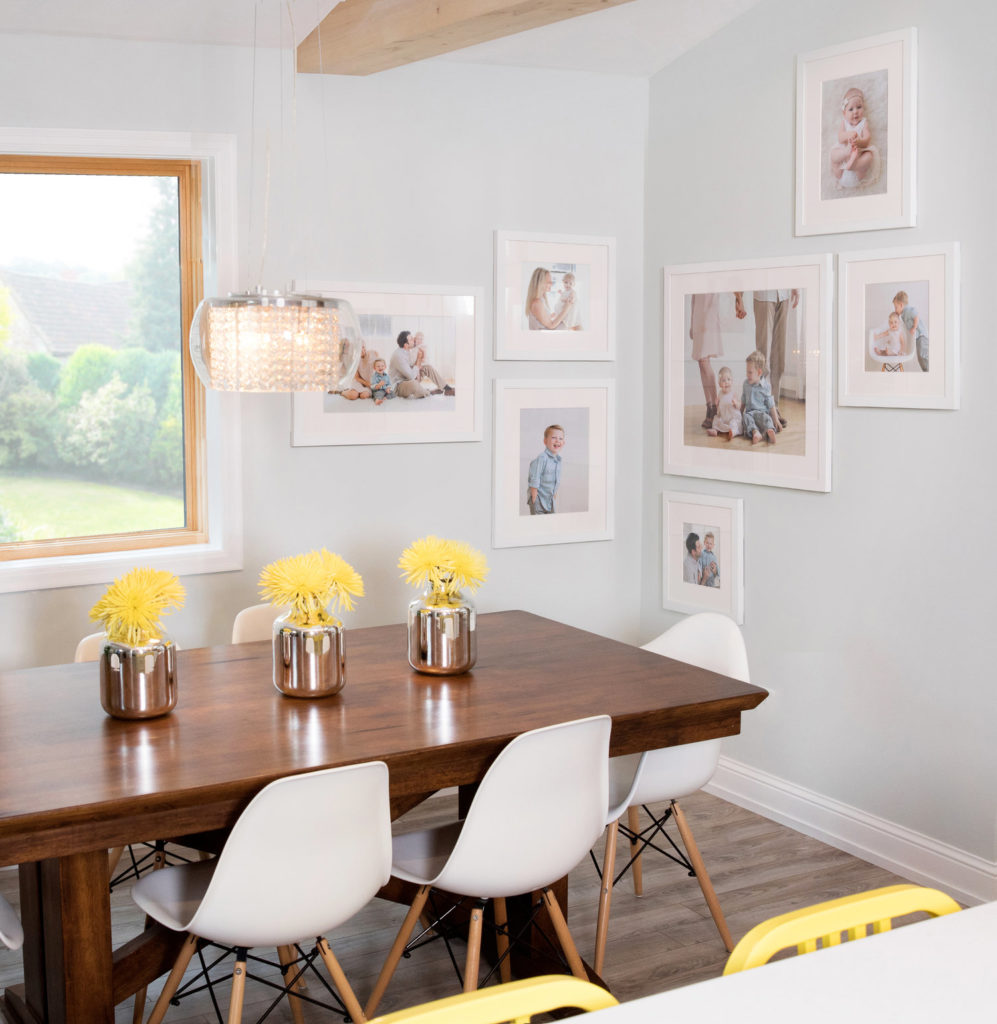
1. Balance is key in every photography display.
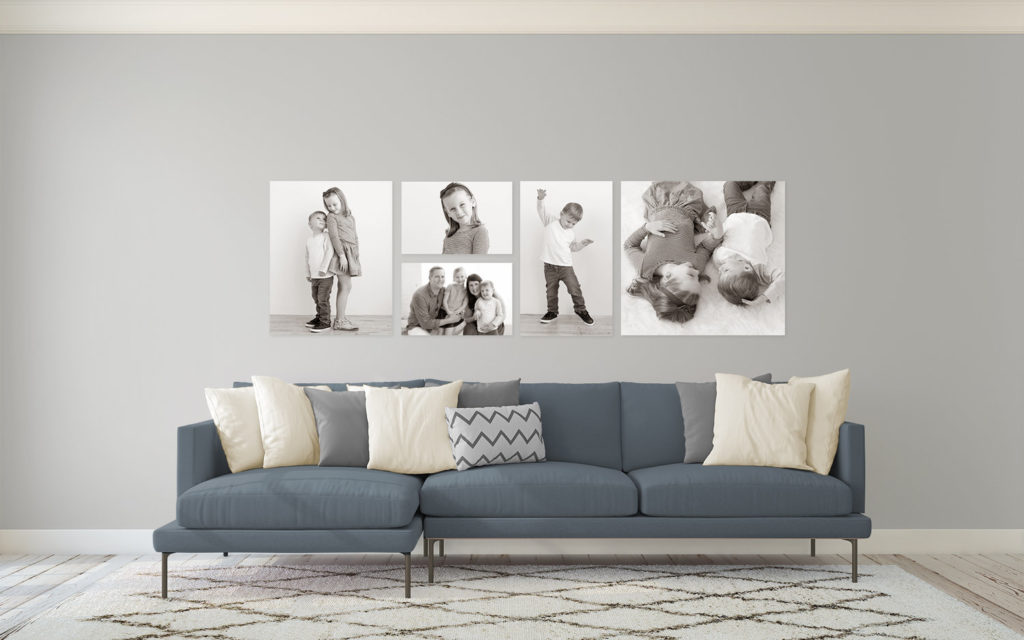
Did you know that even asymmetric groupings can actually look balanced? The trick here is to balance the weight of the images. If there is a larger image, surround it creatively with smaller images. When you’re hanging any grouping of pictures, make sure the overall height of the collection suits the wall, too. To help your clients do this, it can be helpful to have them take a picture of the wall they want to decorate, for reference. Here’s a great example of balanced images:
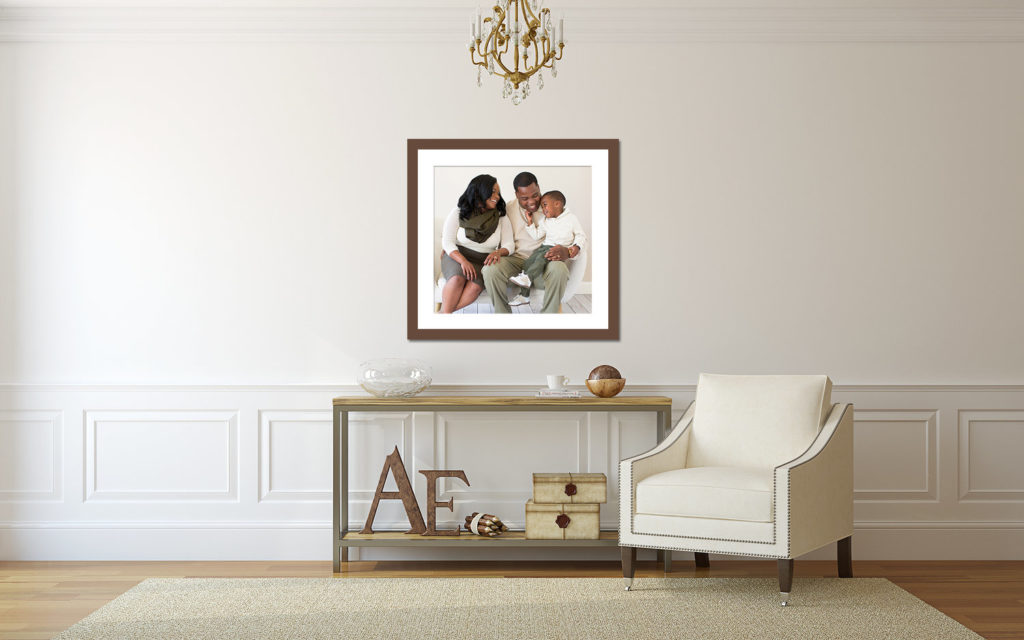
2. Use your furniture to anchor artwork.
When you’re helping your clients consider where to hang pictures or artwork, it’s important to take into account the furniture in the room. Think of any piece of large furniture as an anchor for what lives on your walls. By anchoring artwork to the existing furniture, you can make sure the art fits the space.
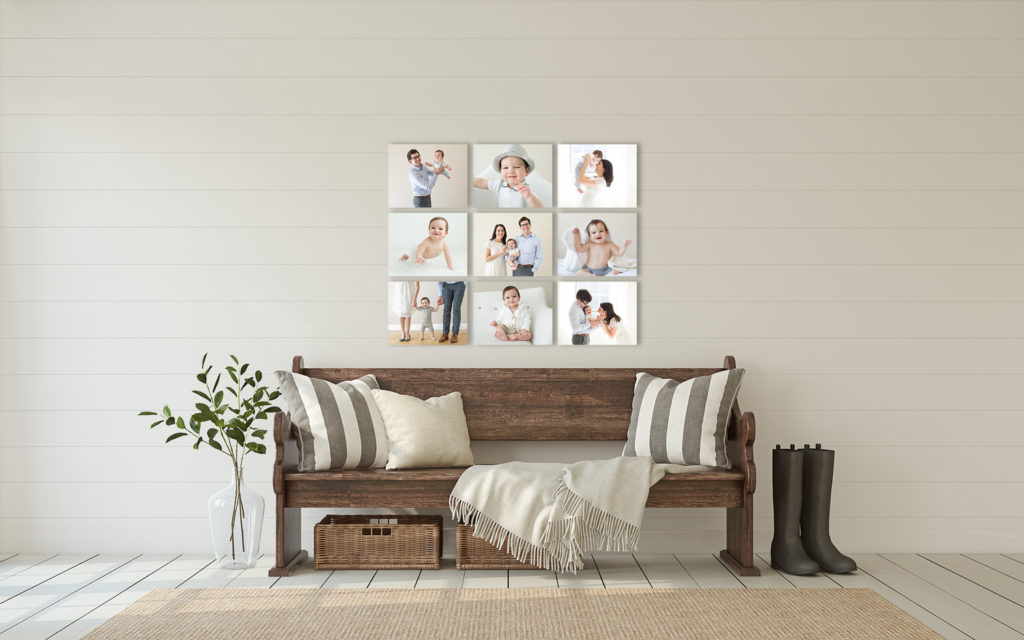
3. Create a grid.
Nothing looks cleaner in a well-styled room than a grid of beautiful photos! The trick here will be to balance the imagery out so the grid feels cohesive. For clients who would like a photo grid, recommend a formation with frames or canvases that are all the same size, for starters. If you or your client is feeling more confident in this technique, you can mix a couple different sizes to create the overall grid.
4. Hang groupings in odd numbers.
Call it Feng Shui or whatever you’d like, but here’s something about grouping items in odd numbers that is pleasing to the eye. When making recommendations for your clients, have them consider hanging the main image that’s a little larger or hanging larger groups a little off-center to see what fits. Remember, the more information you have about your client’s home and the room they’re trying to decorate, the more on-point your recommendations can be!
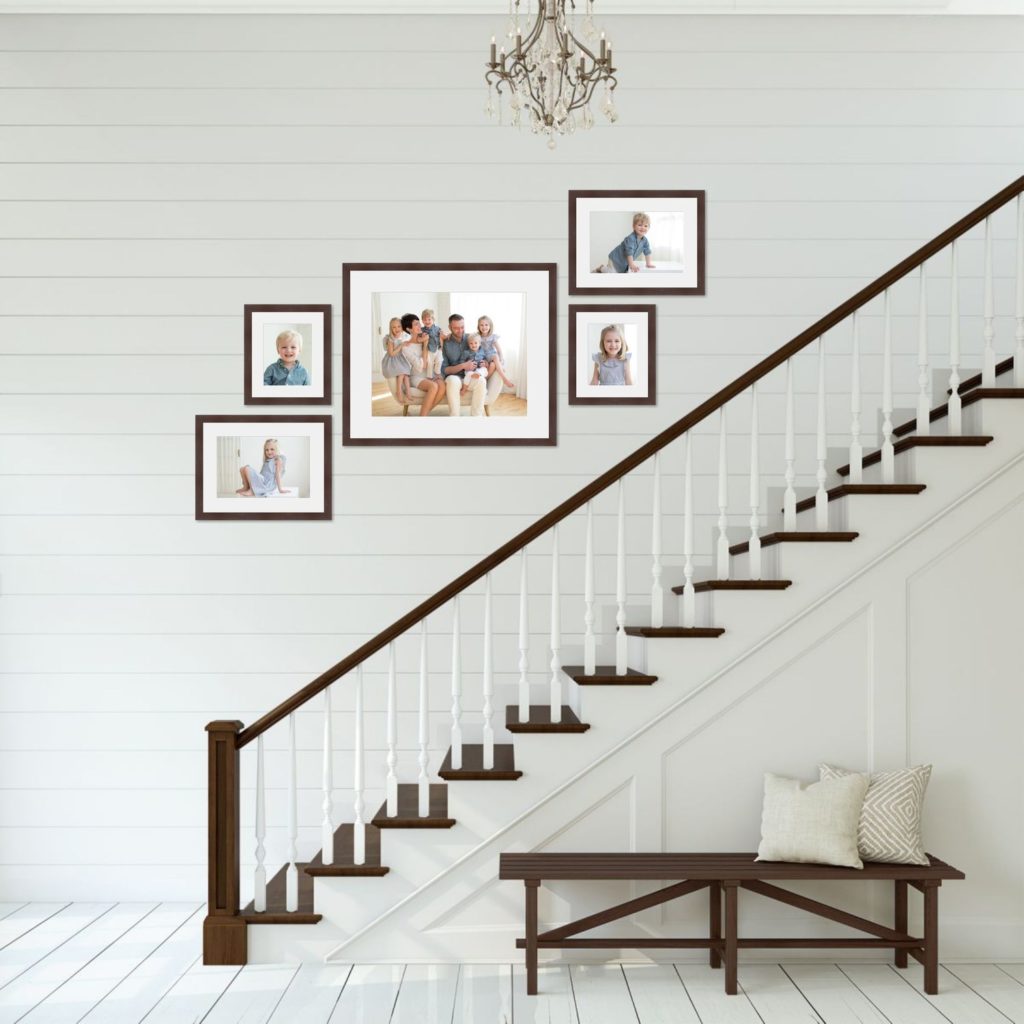
5. Get the right height.
There’s nothing worse than artwork that is hung too high. The gallery standard for hanging artwork is 65” from the ground. However, it’s important to do what suits the room and the angle that the images will be viewed from. When you’re advising your clients about how to hang your photography (or if you’re doing the install yourself!), aim for hanging pictures and artwork so the center of the image is at eye level. In the living room, bear in mind that you’ll mostly be seated so the images can be a little lower on the wall.
While there are SO many different ways to hang artwork in a home, these methods are tried and true. Learning how to help your clients display your work helps add value to your services and positions you as the expert you are – it’s a win-win! Hopefully, you and your clients find these tips helpful for displaying photography.
For more of my best advice on running a successful, profitable, and sustainable photography business, make sure you hop on my email list here!


